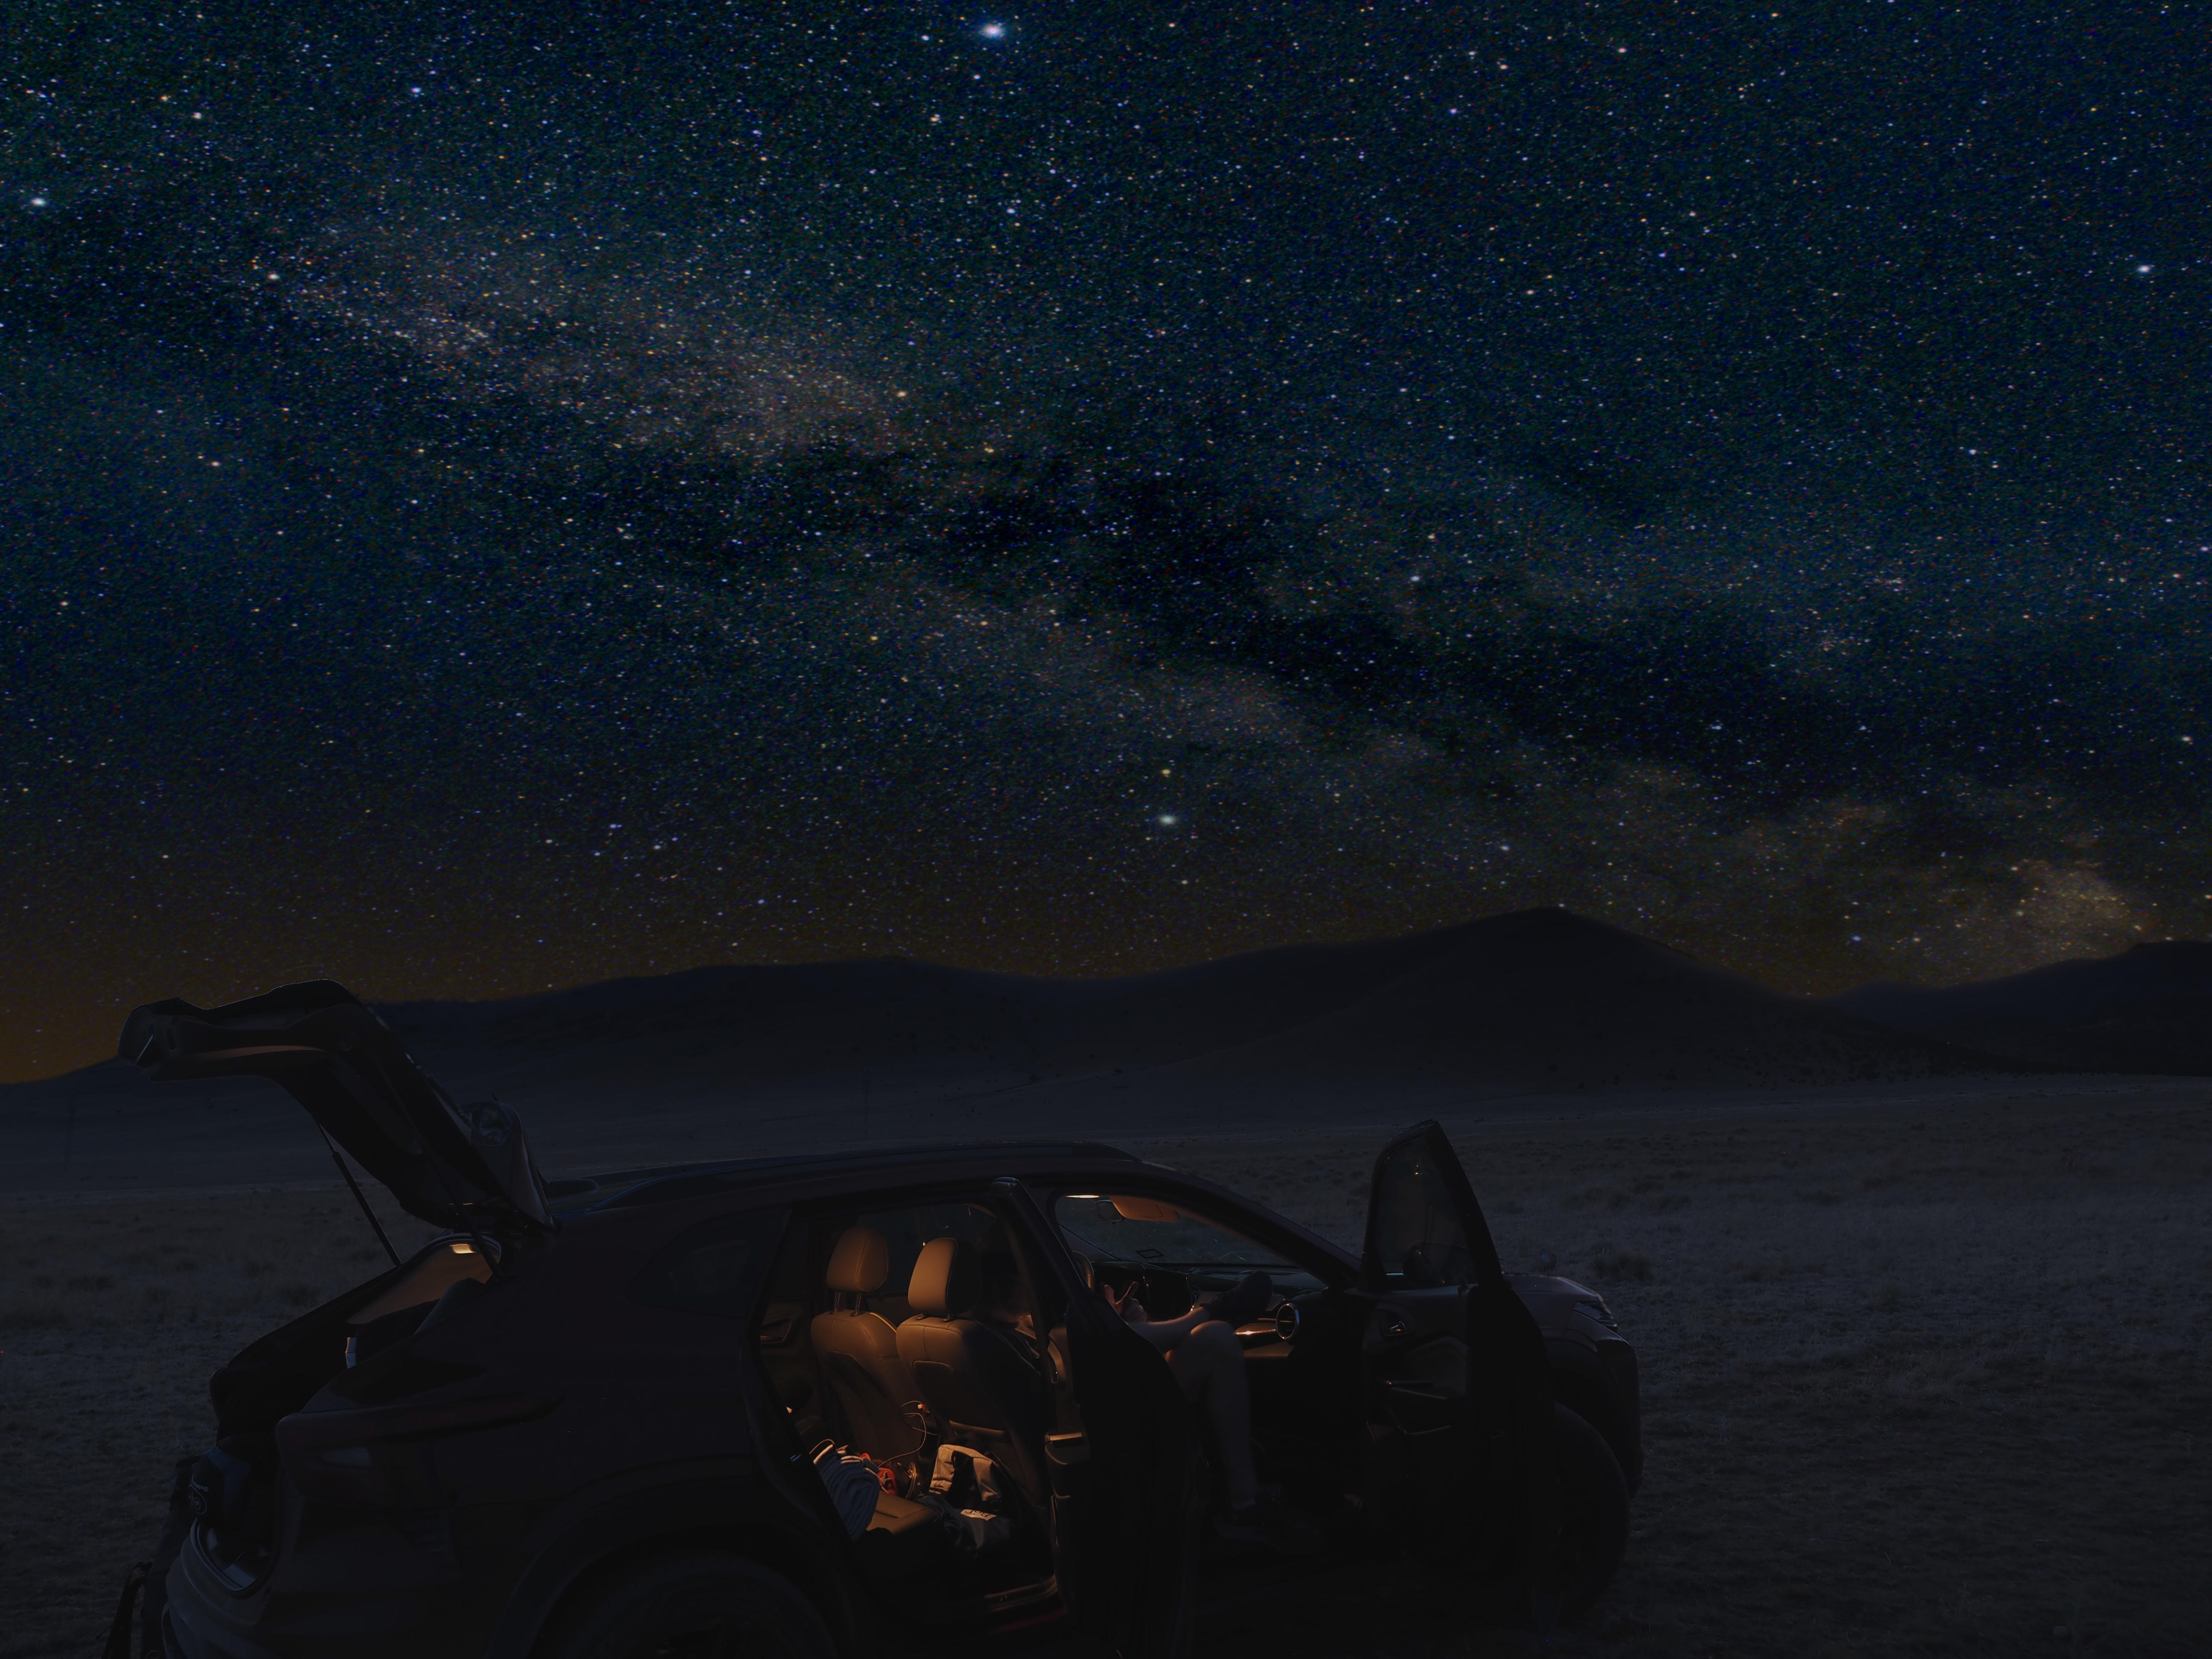
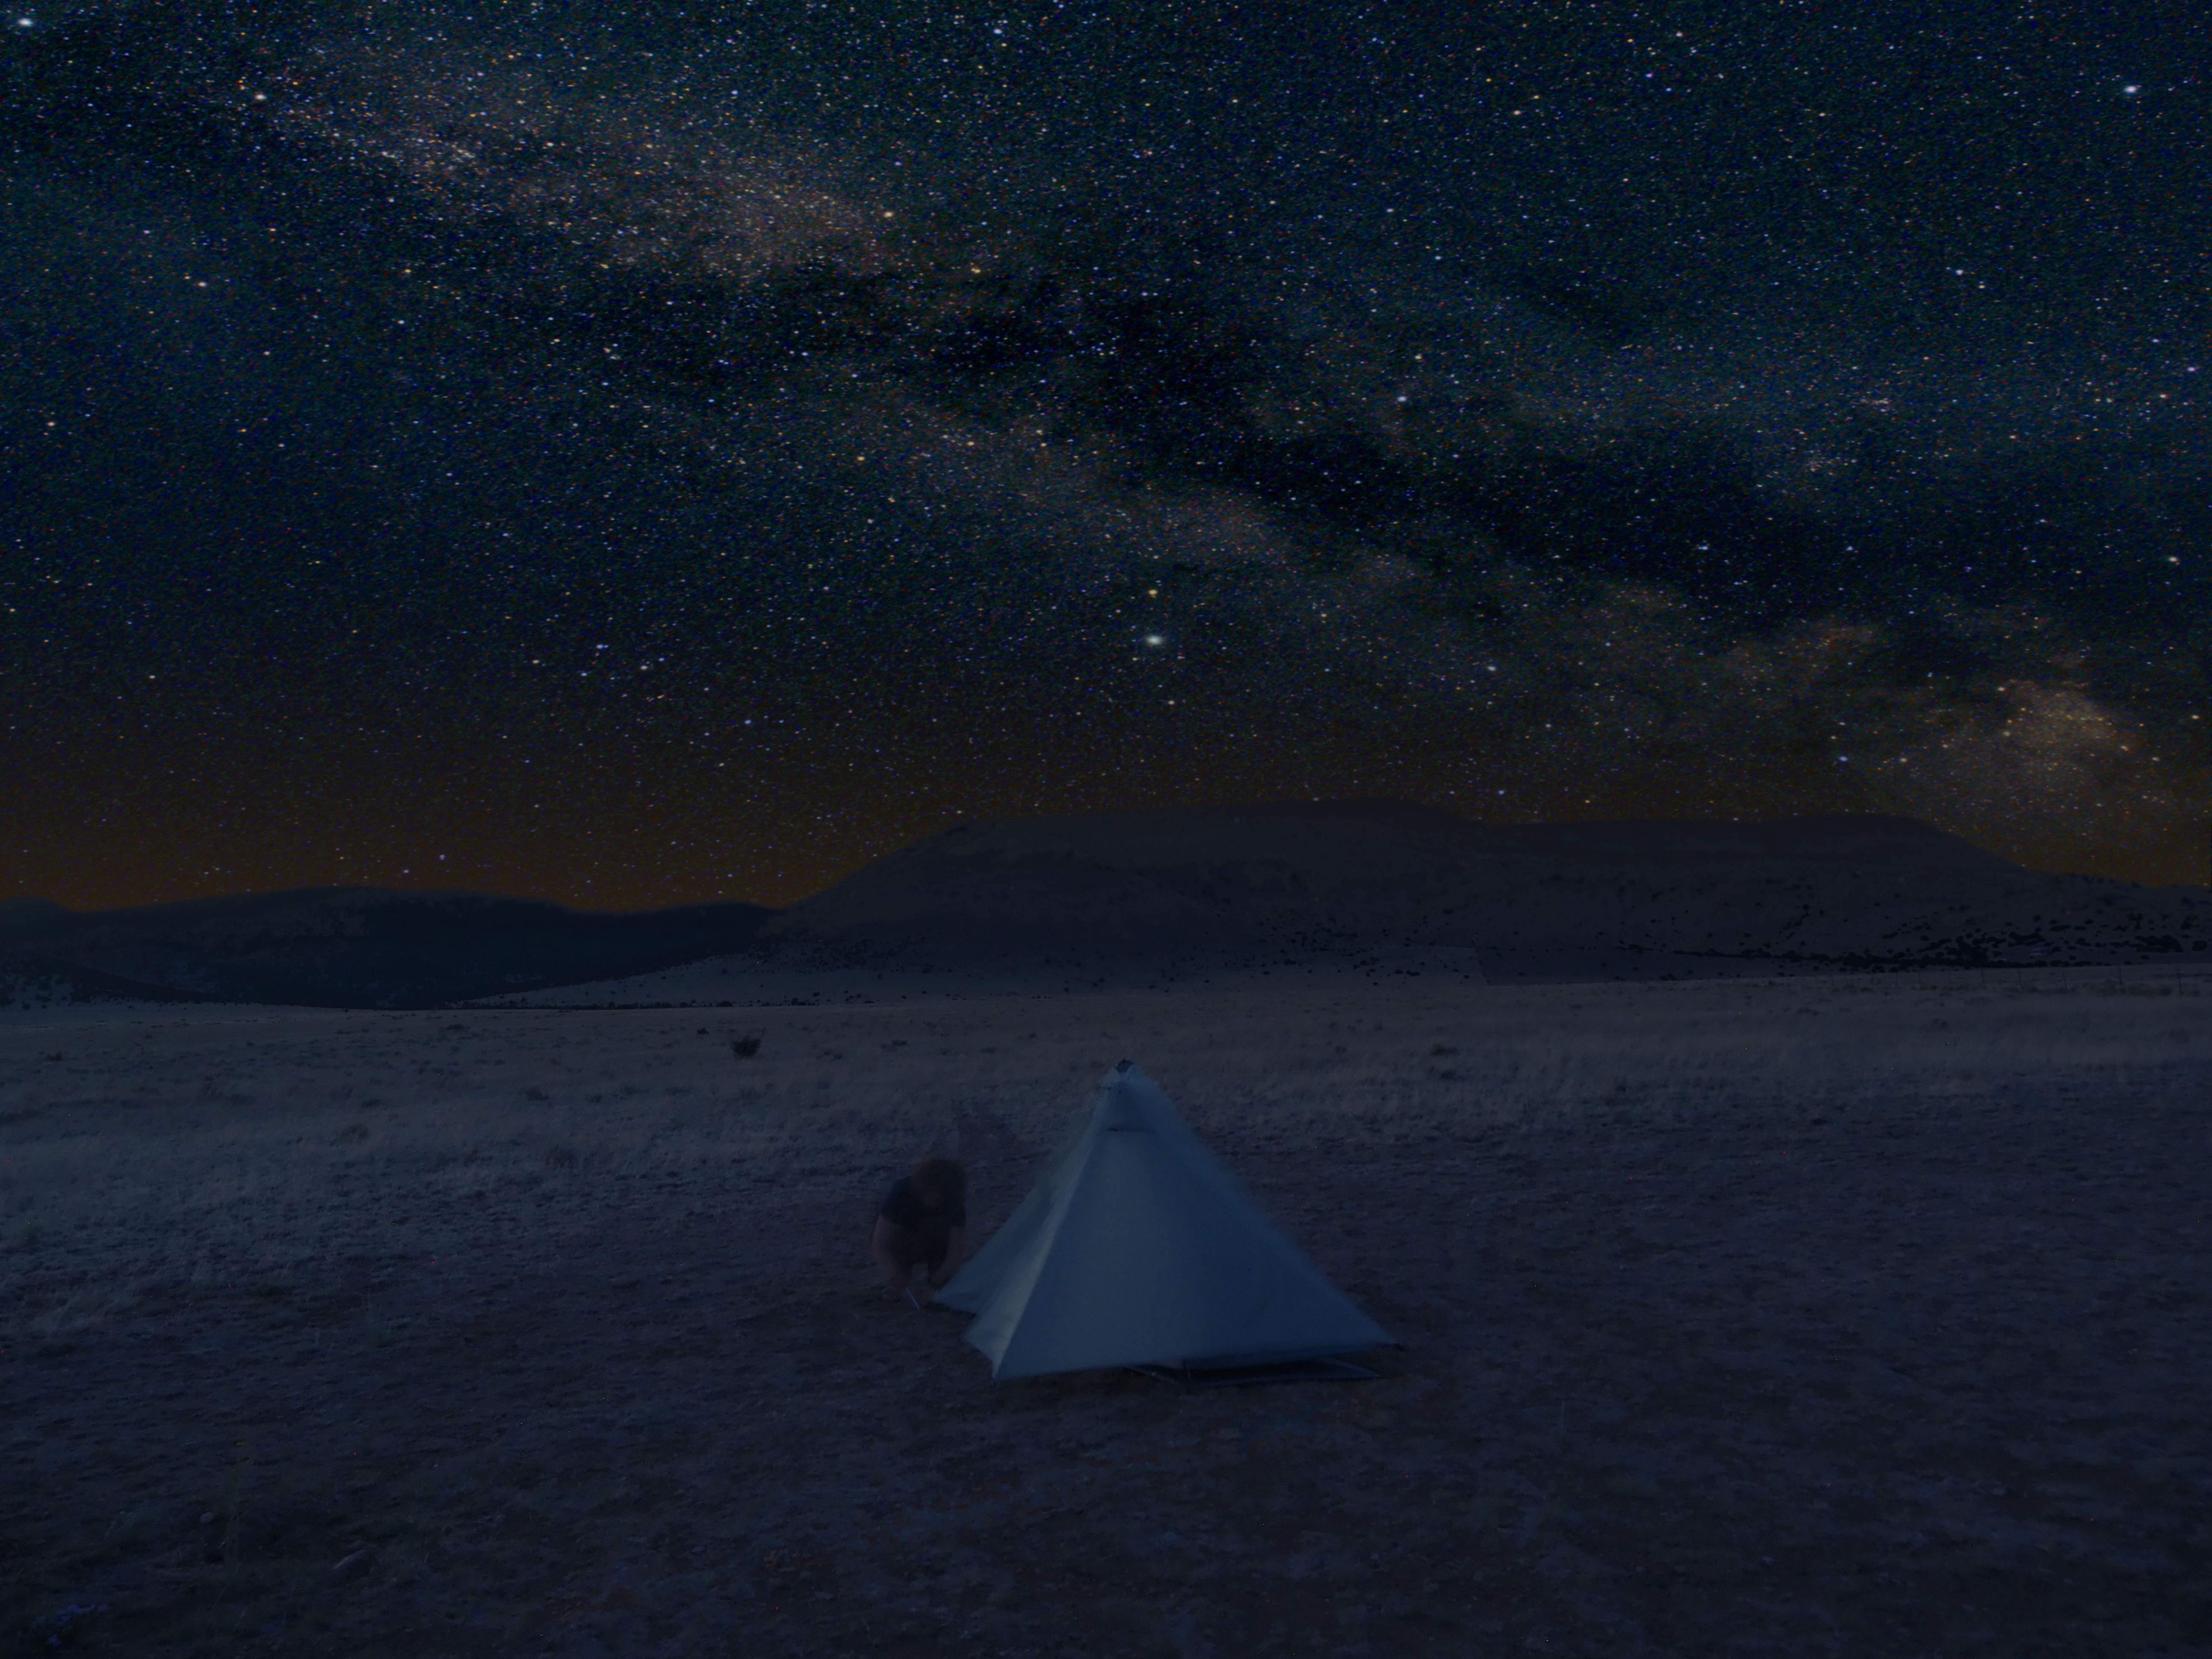
During Summer 2024, when I was living in New Mexico, I went out to Gila National Forest with a couple friends of mine to do a night of camping. While there, I set up my camera to get a couple good starscape photos. I set up my sleeping pad right next to my camera, and spend the whole night alternating between sleeping and checking on my camera. I ended up getting some good starscape photos. I then used GIMP to do some post processing on the images. I brought the starscape photo into the two photos shown below (one of a car and one of a tent), and set the stars to be the background of the photos. One dirty secret you might not know is that, most of the time, when there's a photo of an incredible starscape, with some foreground element, the starscape is usually actually added in post-processing. This is because, most of the time, a camera moves with the sky to get a long exposure of the stars, and so the foreground of these images is usually blurry and smudged, because the foreground isn't moving with the sky. So, to get around this, photographers will usually take a second photo of the foreground, during the day (or evening), and then add the starscape in post-processing.
Equipment Used
- Camera: Olympus OM-D EM1 MK3
- Lens: Olympus M. Zuiko Digital 12-45mm
- Star Tracker: iOptron Skyguider Pro
- Tripod: Peak Design Carbon Fiber Travel Tripod
- Stacking Software: DeepSkyStacker
- Post-Processing Software: GIMP
Photo Settings
- ISO: 3200
- F-stop: f/6.3
- Exposure: 60 sec.
- Focal Length: 12mm
Challenges and Learnings
Overall these photos were actually pretty easy to take. The small focal length of 12mm means that I could get away with a 60 second exposure without any star trailing (i.e., motion blur in the stars), so I didn't have to take a ton of photos. I also didn't have to try to get my star tracker perfectly aligned, which is always a huge pain. The only real challenge was figuring out how to post-process these images so it wasn't incredibly obvous that they were edited. I think I did a pretty good job, but I think I could do better in the future, knowing what I know now. I'd take the foreground photo when there is more light available, so I can just edit the brightness of the foreground down to whatever I want. It's much harder to try to brighten up a dark foreground photo without introducing a lot of noise.
Final Images


Conclusion
Overall, I think these starscape photos turned out pretty well. I think I could do better in the future, but I'm happy with how these turned out. If you have any questions about how I took these photos, or if you want to see more of my astrophotography work, feel free to reach out to me!